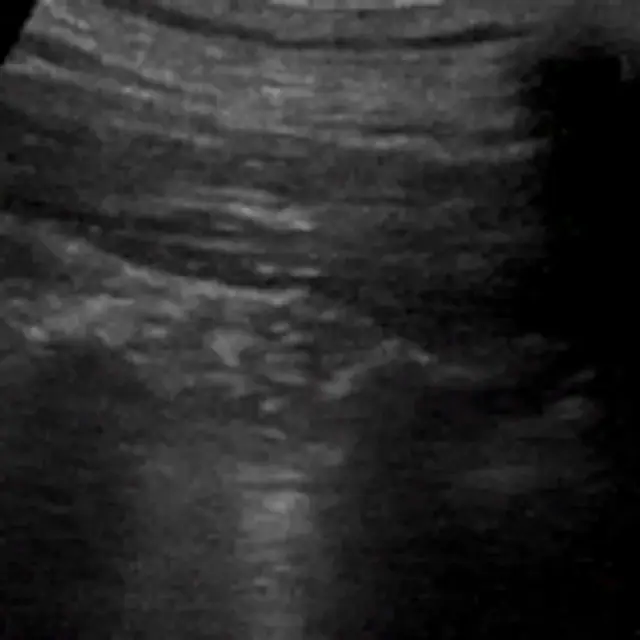
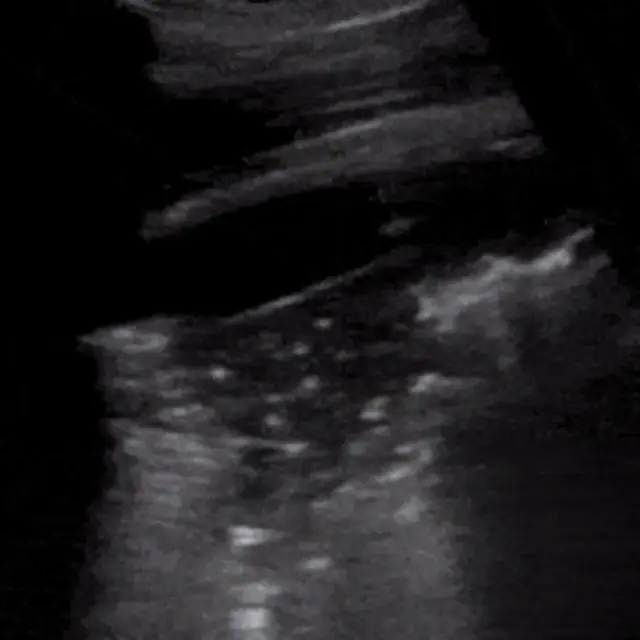
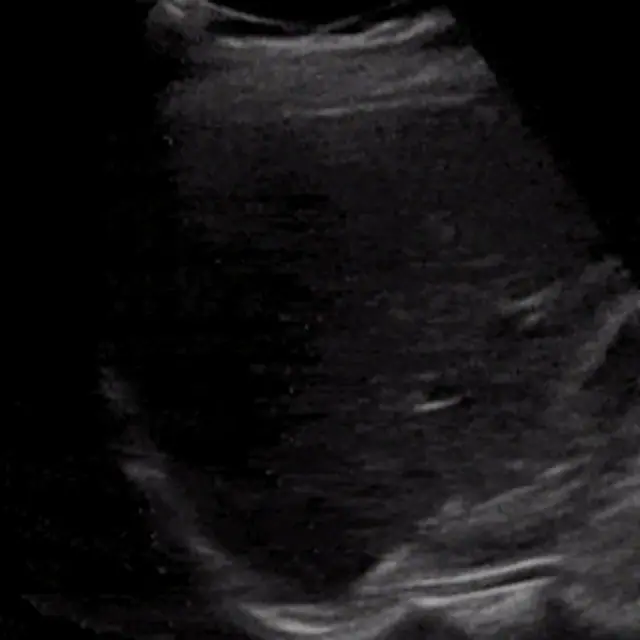
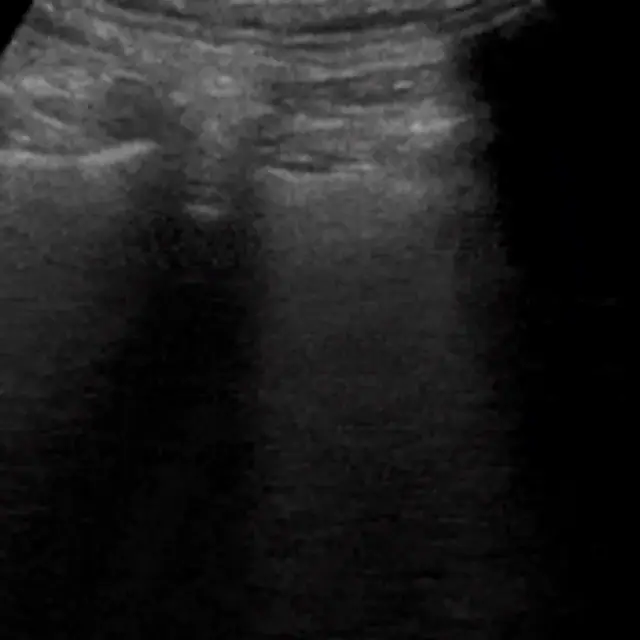
Introduction to ultrasound orientation
Learning objectives
- Relate probe marker to screen indicator
- Predict anatomy in transverse and longitudinal planes
- Recognize the main probe types and their uses
Step-by-step approach
- 1
The marker convention
The probe's physical marker corresponds to the indicator dot on screen (conventionally screen-left in abdominal imaging). Transverse plane: marker to the patient's right → patient's right appears on screen left, like a CT slice.
- 2
Longitudinal plane
Marker toward the head → cephalad structures appear on screen left. Always announce your plane when presenting a clip.
- 3
Depth and gain
The near field (top) is closest to the probe. Set depth so the target sits in the middle two-thirds; adjust gain so fluid is black and soft tissue mid-grey.
- 4
Probes
Curvilinear: deep abdominal. Phased array: cardiac (small footprint, between ribs). Linear: superficial, high resolution, vessels, pleura, MSK.
- 5
Core artifacts
Acoustic shadowing (stone, bone), posterior enhancement (behind fluid), mirror image (diaphragm), reverberation (A-lines). Artifacts are information.
Common mistakes
- Probe marker flipped 180°, anatomy reversed
- Depth set too deep, shrinking the target
- Reading artifacts as pathology
Summary checklist
- Marker checked
- Plane announced
- Depth centred
- Gain balanced
- Artifacts identified
Ask RADSpace about this guide
AI responses are for education and may contain errors. RADSpace is not for primary clinical diagnosis.