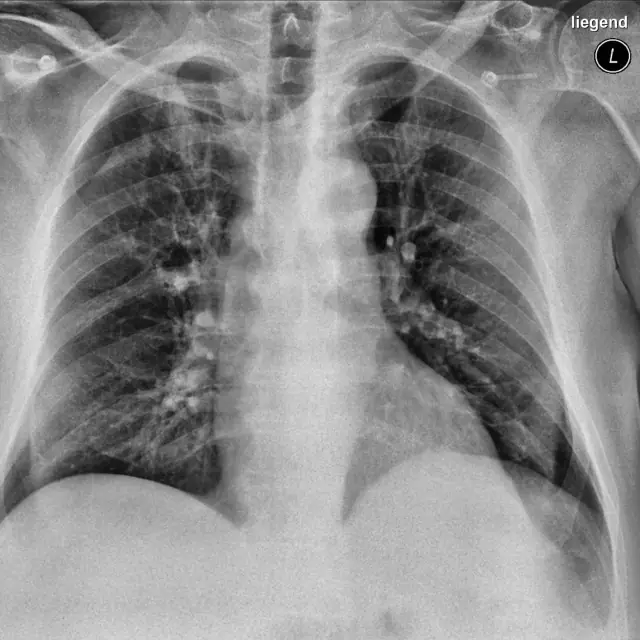
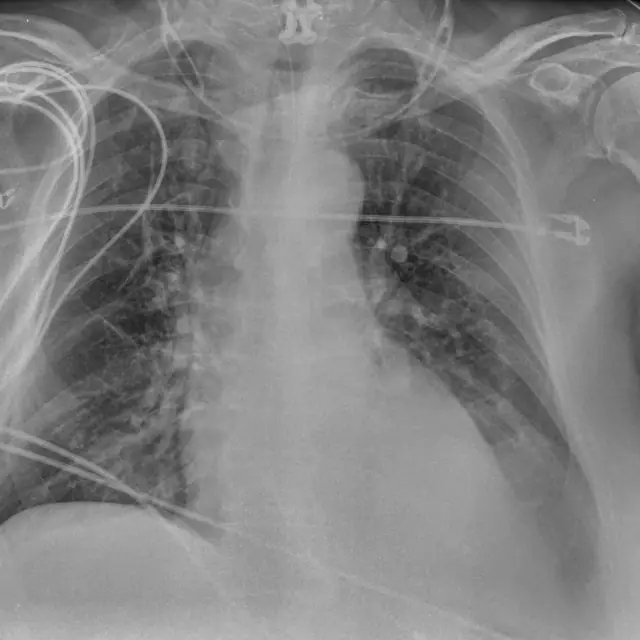
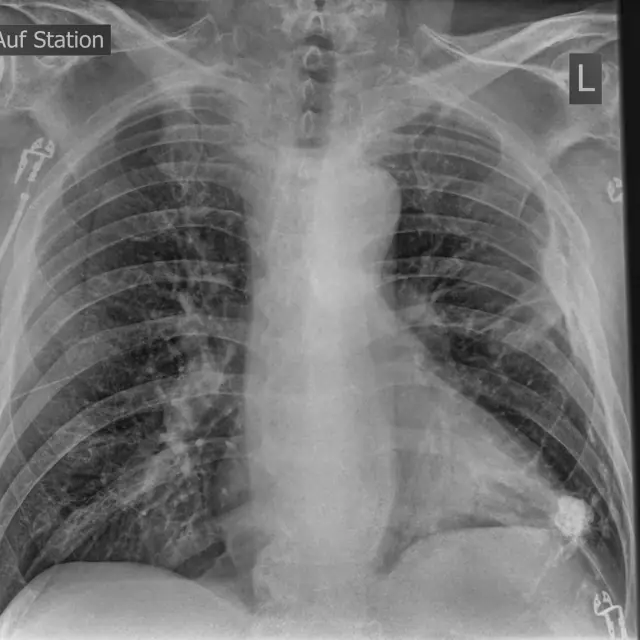
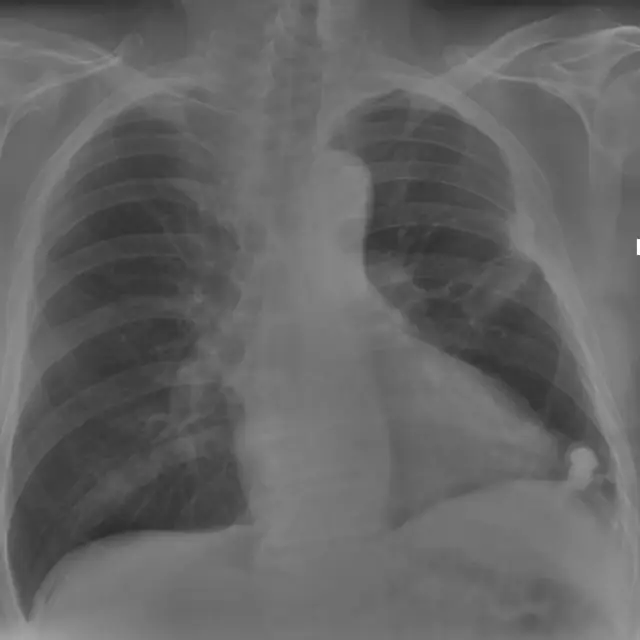
A systematic approach to chest X-rays
Learning objectives
- Assess technical adequacy before interpreting
- Apply a repeatable ABCDE search pattern
- Know the classic review areas where findings hide
Step-by-step approach
- 1
Adequacy first
Check projection (PA vs AP), rotation (spinous process between clavicular heads), inspiration (5–6 anterior ribs), and penetration (vertebrae just visible behind the heart). A poor film changes what you can and cannot say.
- 2
A, Airway
Trachea central? Follow it to the carina and both main bronchi. Deviation may mean volume loss (pulled) or mass effect (pushed).
- 3
B, Breathing
Compare the lungs zone by zone. Trace each pleural edge from apex to costophrenic angle. Asymmetric density or lucency is your cue to slow down.
- 4
C, Circulation
Heart size (cardiothoracic ratio on PA), mediastinal contours, aortic knuckle. A widened mediastinum in trauma is an emergency.
- 5
D, Diaphragm
Both hemidiaphragms sharp; right normally sits slightly higher. Free air beneath the diaphragm on an erect film means perforation until proven otherwise.
- 6
E, Everything else
Bones, soft tissues, lines and tubes, and the review areas: the apices, behind the heart, below the diaphragm, and the peripheries of the film.
Common mistakes
- Satisfaction of search: stopping at the first finding
- Skipping the review areas (apices, retrocardiac, subdiaphragmatic)
- Interpreting a rotated or under-inspired film as pathology
Summary checklist
- Adequacy
- Airway
- Breathing
- Circulation
- Diaphragm
- Everything else + review areas
Ask RADSpace about this guide
AI responses are for education and may contain errors. RADSpace is not for primary clinical diagnosis.